 +86 13714842239
Company News
How to take perfect photos with fill light
Release Date: 2023-08-03 Views: 484
How to take perfect photos with fill light
Have you ever tried to take a picture of someone and end up with a silhouette? Then it's time for you to learn to use the fill light. As the name suggests, it fills the dark areas with light, so you end up with a correctly exposed image.
Want to learn how to use fill light in photography? Please keep reading, because we have provided you with a lot of tips!
What is the purpose of the fill light?
Even if it is illuminated, do you still get a silhouette in the photo? Well, it's most likely because you are backlit. In other words, you are shooting where the light is behind the subject. The light may hit their backs, but not their faces. As a result, your model ends up looking very dark in the image.
It may also occur in other lighting situations where there is only one light source. Usually, it is not enough to illuminate the entire subject. Auxiliary light source is required.
Fill light photography is the second light source. It helps to fill in the shadows and balance the exposure.
A photo of a woman holding a fairy lamp using fill light
What are key lights and fill lights?
Before delving into the details of the fill light, we first need to define the key light and fill light.
The key light is your main light source, which can be the sun or artificial lighting. At the same time, fill light is an additional light source that "fills light" in the dark area of the object.
Generally, the brightness of the fill light should be lower than that of the button light. This way, you won't end up overexposing or washing out the details of the subject.
How do you use fill light in photography?
There are many ways to create fill light. You can use flash, flash, continuous light or reflector.
So what is the difference between these light sources? In addition to producing critical light, flashes and strobe lights also produce additional light to produce a balanced exposure. At the same time, the mirror reflects the usable light back to the subject.
Where do you put the fill light? In most cases, you can place it in front of or next to the subject. The purpose is to eliminate shadows on the model's face and body.
Usually, you need to place the fill light on the opposite side of the main light source.
If the light is behind the object, you need to place the fill light in front of the object.
Also, if the light is next to the object, you need to move the fill light to the side.
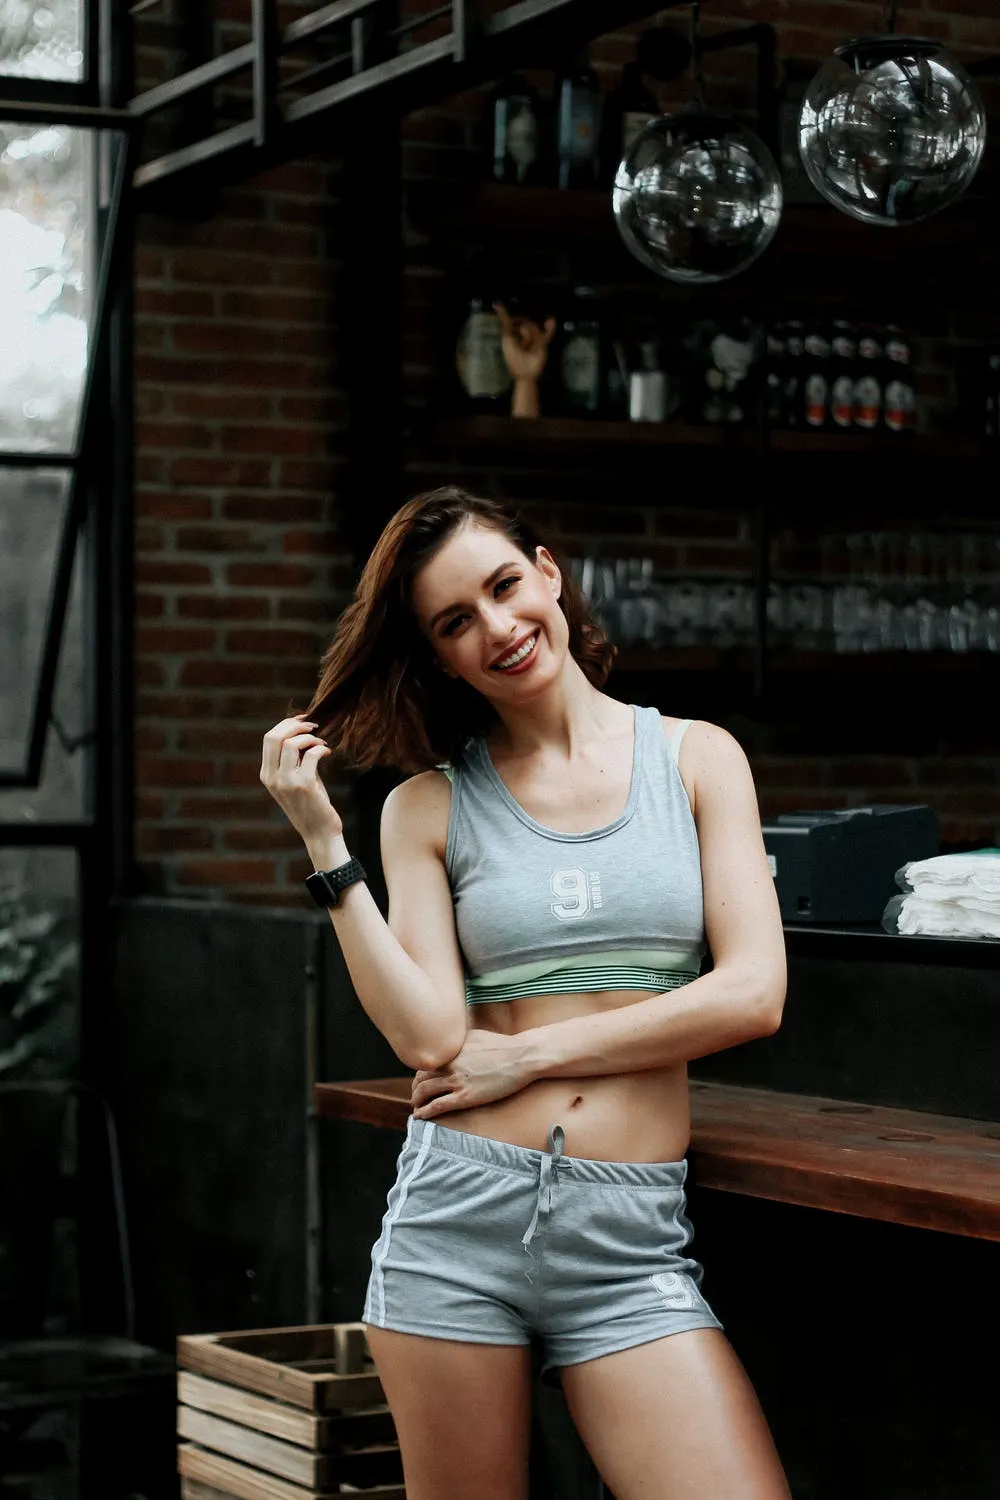
Portrait photo of woman wearing white pullover
How to use fill light in Studio?
In addition to using fill light outdoors, it is also a useful technique indoors.
In a studio environment, most photographers use fill light, a technique called three-point lighting. Illumination at 3 points requires a button light, fill light and edge light.
So how does it work? Usually, the key light illuminates one side of the face, and the fill light illuminates the other side.
At the same time, the edge light illuminates the back of the head. People also call it shiny because it can accentuate human hair.
Most people place the flash directly a few feet behind the subject. Others prefer to place it about 45 degrees behind the model, away from the camera frame.
Use fill light to set the fill rate for the best effect
The key to effective use of fill lighting is to set the correct fill rate. To do this, take an exposure reading from the lightest part of the composition.
The spot may be your subject's face in the sun, or it may be the background. Use the camera's spot meter to ensure accurate readings.
After determining the available light source, you can add enough filling amount as needed.
It is important to balance the fill light and the available light. Doing so can completely eliminate shadows on the subject's face.
In the photo below, I used a flash as my main light, which is on my right. I added light from a small soft box on the left as a fill light.
I set the fill light to a lower power than the main light, so there is no shadow. By balancing the light proportions so tightly, you can get a flat-looking portrait.
Woman in front of yellow wall
Making the fill light one or two levels less than the main light will leave some shadows on the subject. Filling in some shadows will make your portrait deeper.
For the next portrait, I placed a small softbox on the right side of the subject. I performed an exposure reading of the ambient light and set the flash to a slightly higher output ratio.
Doing so will create some soft shadows on the left side of her face.
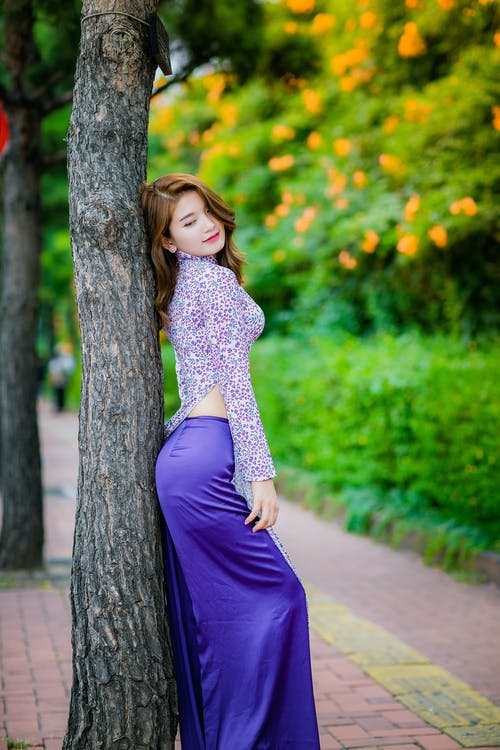
Portrait of a woman against a gray background
Deciding how much fill light to add to the portrait to achieve the desired look is critical.
Use flash to control fill light
With the flash on the manual setting, you can control the output regardless of the available lights.
When using the flash in any automatic mode, the flash and the camera will determine the output. This calculation partly relies on ambient light.
Don't focus too much on getting the "right" exposure through numbers. Pay attention to the display and histogram to see the effect of the fill light.
Studying the image on the monitor helps determine the best fill rate.
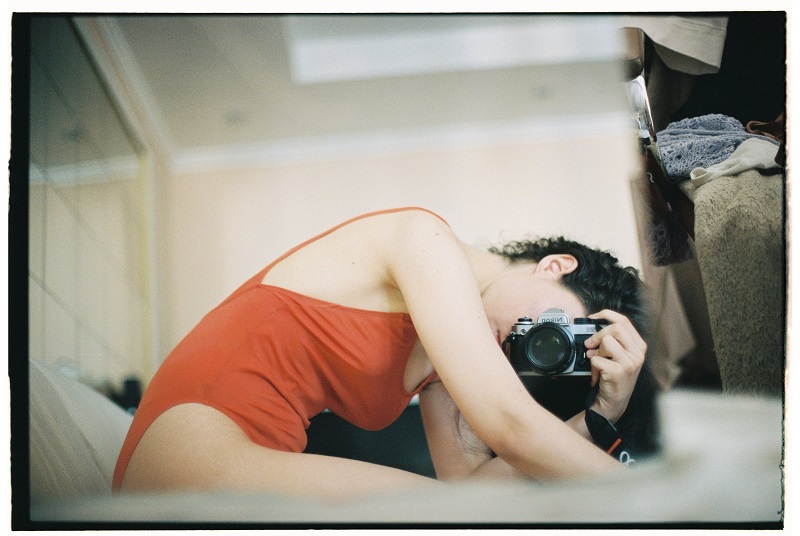
Portrait of a laughing blond girl outdoors
Photo by Syvatoslav Romanov
Use reflector as fill light
Portable foldable reflectors are a popular way to add light to portraits. The light they provide is different from flash. But it can also be challenging to control.
The best way to use mirrors for portrait lighting is to let an assistant know what they need to do.
Take some time to educate your assistants on how to use the mirror correctly. This can reduce the pressure when shooting portraits.
Choosing the best mirror surface and making it at a right angle can provide a good photographic fill light for the subject. Too much light reflection will result in underexposure.
I find it helpful to tell my subjects to stay away from the mirror so they don't hurt the eyes.
Let your assistant stand in the correct position and use a mirror to provide the most attractive portrait lighting. The position opposite to the main light source is usually the best position of the reflector.
Using a mirror, you can see the light on the object and observe the ratio before taking the picture. The reflector is larger than the flash. It provides soft light, especially on non-luminous surfaces.
How to make the fill light look better?
Using an unmodified flash may produce unpleasant results. Even if you can balance the fill rate well, the exposed flash will reflect off the skin. The resulting hot spots are very ugly.
Bounce the flash or use a modifier to soften it will help you make a more flattering portrait. My preferred method of modifying Flash is to use a small softbox.
It will slow down the work, but the soft light from the softbox is worth it. Compared with a bare flash, the light from the softbox is much softer.
Portrait of woman with brown eyes
It is important to carefully choose the correct surface on the reflector. In bright sunlight, I don’t use gold or silver mirrors because they will reflect too much harsh light towards my target.
Using a flat white surface in bright sunlight will reflect soft light on my subject.
In cloudy conditions, using shiny gold or silver surfaces will help you get soft light and a good proportion of filled light sources.
in conclusion
Usually, two lamps are better than one lamp. The key is to learn to control the output so that the desired ratio can be achieved. Keeping the fill light lower than the main light will leave a little shadow on the subject. Doing so helps to create some depth.
Look for natural reflected light for photos. I like street photography.
Studio portrait of a female supplier taken with a fill light source in a busy market
Know the appearance of the required light. With well-controlled fill light, you can control the shadow and mood of the portrait. We have many wonderful articles about how to use the key light, hair light or edge light next step!
If you need the fill light for photography accessories, you can give us feedback, we have 10 years of OEM experience in the research and development of photography lights, the products are widely used in video conferences, live broadcasts, still life (food, seafood, candy, portraits, Children, wedding dresses, outdoor) shooting, vlog videos, etc.
Have you ever tried to take a picture of someone and end up with a silhouette? Then it's time for you to learn to use the fill light. As the name suggests, it fills the dark areas with light, so you end up with a correctly exposed image.
Want to learn how to use fill light in photography? Please keep reading, because we have provided you with a lot of tips!
What is the purpose of the fill light?
Even if it is illuminated, do you still get a silhouette in the photo? Well, it's most likely because you are backlit. In other words, you are shooting where the light is behind the subject. The light may hit their backs, but not their faces. As a result, your model ends up looking very dark in the image.
It may also occur in other lighting situations where there is only one light source. Usually, it is not enough to illuminate the entire subject. Auxiliary light source is required.
Fill light photography is the second light source. It helps to fill in the shadows and balance the exposure.
A photo of a woman holding a fairy lamp using fill light
What are key lights and fill lights?
Before delving into the details of the fill light, we first need to define the key light and fill light.
The key light is your main light source, which can be the sun or artificial lighting. At the same time, fill light is an additional light source that "fills light" in the dark area of the object.
Generally, the brightness of the fill light should be lower than that of the button light. This way, you won't end up overexposing or washing out the details of the subject.
How do you use fill light in photography?
There are many ways to create fill light. You can use flash, flash, continuous light or reflector.
So what is the difference between these light sources? In addition to producing critical light, flashes and strobe lights also produce additional light to produce a balanced exposure. At the same time, the mirror reflects the usable light back to the subject.
Where do you put the fill light? In most cases, you can place it in front of or next to the subject. The purpose is to eliminate shadows on the model's face and body.
Usually, you need to place the fill light on the opposite side of the main light source.
If the light is behind the object, you need to place the fill light in front of the object.
Also, if the light is next to the object, you need to move the fill light to the side.
Portrait photo of woman wearing white pullover
How to use fill light in Studio?
In addition to using fill light outdoors, it is also a useful technique indoors.
In a studio environment, most photographers use fill light, a technique called three-point lighting. Illumination at 3 points requires a button light, fill light and edge light.
So how does it work? Usually, the key light illuminates one side of the face, and the fill light illuminates the other side.
At the same time, the edge light illuminates the back of the head. People also call it shiny because it can accentuate human hair.
Most people place the flash directly a few feet behind the subject. Others prefer to place it about 45 degrees behind the model, away from the camera frame.
Use fill light to set the fill rate for the best effect
The key to effective use of fill lighting is to set the correct fill rate. To do this, take an exposure reading from the lightest part of the composition.
The spot may be your subject's face in the sun, or it may be the background. Use the camera's spot meter to ensure accurate readings.
After determining the available light source, you can add enough filling amount as needed.
It is important to balance the fill light and the available light. Doing so can completely eliminate shadows on the subject's face.
In the photo below, I used a flash as my main light, which is on my right. I added light from a small soft box on the left as a fill light.
I set the fill light to a lower power than the main light, so there is no shadow. By balancing the light proportions so tightly, you can get a flat-looking portrait.
Woman in front of yellow wall
Making the fill light one or two levels less than the main light will leave some shadows on the subject. Filling in some shadows will make your portrait deeper.
For the next portrait, I placed a small softbox on the right side of the subject. I performed an exposure reading of the ambient light and set the flash to a slightly higher output ratio.
Doing so will create some soft shadows on the left side of her face.
Portrait of a woman against a gray background
Deciding how much fill light to add to the portrait to achieve the desired look is critical.
Use flash to control fill light
With the flash on the manual setting, you can control the output regardless of the available lights.
When using the flash in any automatic mode, the flash and the camera will determine the output. This calculation partly relies on ambient light.
Don't focus too much on getting the "right" exposure through numbers. Pay attention to the display and histogram to see the effect of the fill light.
Studying the image on the monitor helps determine the best fill rate.
Portrait of a laughing blond girl outdoors
Photo by Syvatoslav Romanov
Use reflector as fill light
Portable foldable reflectors are a popular way to add light to portraits. The light they provide is different from flash. But it can also be challenging to control.
The best way to use mirrors for portrait lighting is to let an assistant know what they need to do.
Take some time to educate your assistants on how to use the mirror correctly. This can reduce the pressure when shooting portraits.
Choosing the best mirror surface and making it at a right angle can provide a good photographic fill light for the subject. Too much light reflection will result in underexposure.
I find it helpful to tell my subjects to stay away from the mirror so they don't hurt the eyes.
Let your assistant stand in the correct position and use a mirror to provide the most attractive portrait lighting. The position opposite to the main light source is usually the best position of the reflector.
Using a mirror, you can see the light on the object and observe the ratio before taking the picture. The reflector is larger than the flash. It provides soft light, especially on non-luminous surfaces.
How to make the fill light look better?
Using an unmodified flash may produce unpleasant results. Even if you can balance the fill rate well, the exposed flash will reflect off the skin. The resulting hot spots are very ugly.
Bounce the flash or use a modifier to soften it will help you make a more flattering portrait. My preferred method of modifying Flash is to use a small softbox.
It will slow down the work, but the soft light from the softbox is worth it. Compared with a bare flash, the light from the softbox is much softer.
Portrait of woman with brown eyes
It is important to carefully choose the correct surface on the reflector. In bright sunlight, I don’t use gold or silver mirrors because they will reflect too much harsh light towards my target.
Using a flat white surface in bright sunlight will reflect soft light on my subject.
In cloudy conditions, using shiny gold or silver surfaces will help you get soft light and a good proportion of filled light sources.
in conclusion
Usually, two lamps are better than one lamp. The key is to learn to control the output so that the desired ratio can be achieved. Keeping the fill light lower than the main light will leave a little shadow on the subject. Doing so helps to create some depth.
Look for natural reflected light for photos. I like street photography.
Studio portrait of a female supplier taken with a fill light source in a busy market
Know the appearance of the required light. With well-controlled fill light, you can control the shadow and mood of the portrait. We have many wonderful articles about how to use the key light, hair light or edge light next step!
If you need the fill light for photography accessories, you can give us feedback, we have 10 years of OEM experience in the research and development of photography lights, the products are widely used in video conferences, live broadcasts, still life (food, seafood, candy, portraits, Children, wedding dresses, outdoor) shooting, vlog videos, etc.


